Receiving a Test Fax
Incoming faxes can be sorted by To receive the test fax you sent to the Administrator mailbox in Sending a Test Fax, follow these steps:
| 1. | Select the All Folders view, expand the Mailbox and select the Incoming Fax Queue to view the incoming test fax. Right-clicking on the incoming fax displays a variety of options. |
You can also see theIncoming Fax Queue from the Mailbox folder view.
| 2. | After using the Administrator account to confirm the test fax was a success, see Creating and Configuring FaxPress Premier Groups to create and configure new FaxPress Premier accounts for your users. |
For more information on receiving faxes, see Chapter 7, Receiving Faxes in the FaxPress Premier User Guide.
Until automatic routing is configured, all incoming faxes will be sent by default to the Unaddressed Faxes folder, accessible from the Administrator mailbox. (See About the Administrator Mailbox for more information.) The faxes must then be routed from the Unaddressed mailbox to the recipients. Faxes can be routed either by right-clicking on the fax and selecting Route, or by using the drag & drop Routing Tool.
The FaxPress Premier’s drag & drop fax Routing Tool allows users with Router privileges to route inbound faxes right to users’ FaxPress Premier mailboxes with a single mouse click. The Router can view only the first page (cover page) of the fax, maintaining the privacy and confidentiality of the fax transaction content.
See Creating and Configuring FaxPress Premier Groups for more information on Router privileges.
To use the drag & drop Routing Tool, follow these steps:
| 1. | In FaxPress Plus, with the Unaddressed Faxes folder selected, go to Fax>Routing Tool. |
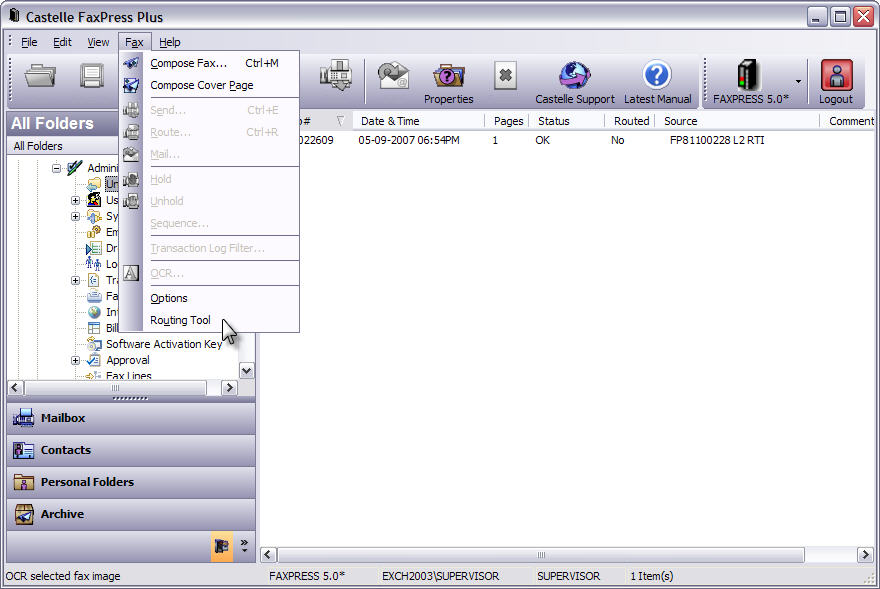
| 2. | Enter a Notification Message, then drag the fax from the Unaddressed Faxes folder to the recipient. |

| 3. | The Notification Message will appear in the Comments field, and will also appear in the fax notification message informing the recipient of the fax. See Notices and Alerts in the FaxPress Premier User Guide for more information on fax notification. |
|
FaxPress Premier WebHelp
Last Updated: 11/1/2007
E-mail this page |
Castelle 855 Jarvis Drive, Suite 100 Morgan Hill, CA 95037 Toll-free 800.289.7555 Tel 408.852.8000 Fax 408.852.8100 |